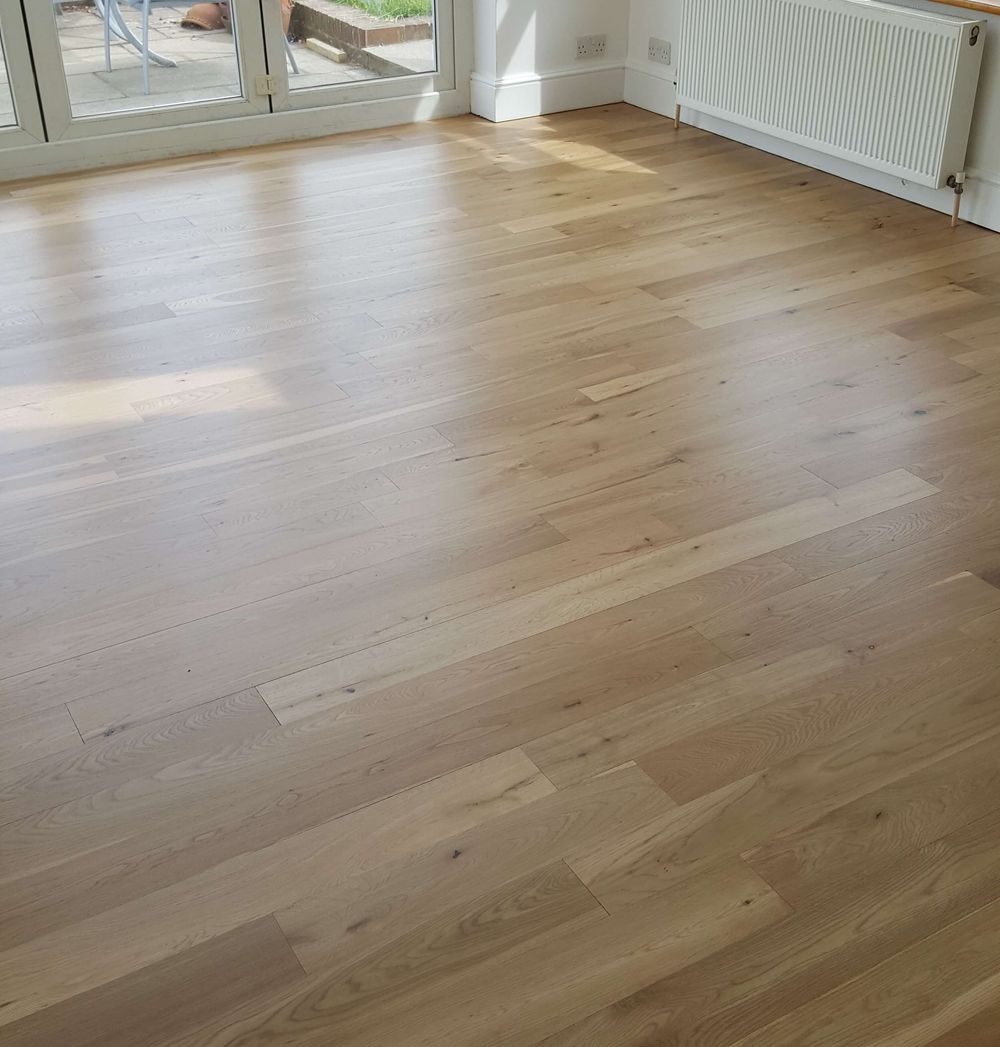
Sealing The Floor
Any wooden work on your floor will not be complete without applying a sealer on it. This is the final substance applied on the floor to protect it. This also helps the flooring maintain its appeal for a long period of time. Also, it imbues the flooring with its own touch of beauty. Apart from being essential in preserving the wood, it helps in making cleaning and general maintenance easier.
Unlike floors that are unsealed and easily dented, sealed floors allow for easier cleaning and reduce the risk of water being absorbed into the wood. A normal acrylic finish of floors can see the flooring last up to three years. However, using a good quality sealer can create a protecting layer in itself, which can make the flooring last up to 10 years. With this in mind, you’ll already know that your kitchen floors should be sealed – even if you neglect other rooms, as you’ll have a higher chance of all types of substances spilling on them. We advise not to opt for pre-sealed boards – especially for your kitchen and high traffic areas of your house.
Sealing floors isn’t just undertaken for protective purposes. You can add some vitality to the floor whilst sealing it, as there are now different colours which can test some woods. Therefore, look out for the effects each can have on your floor.

Processes of Floor Sealing
Before applying the sealers on your wood floor, some preparations should be made to achieve optimal results. If the floor is to be sanded, wait until after the sanding, then clean every part of the room. Remember to attend to wall cracks and dust windows too. Generally, focus on making sure that any part of the room that can generate or hold dust and dirt is properly cleaned.
Mix the product next, following the manufacturer’s instructions to the letter. Depending on the kind of sealer you’re using, mixing can be done by merely shaking the container properly before use. Using a synthetic applicator, evenly spread out the sealer paint over the floor. For smaller corners of the room, use rollers, t-bars, brushes or pads, so that these spots aren’t neglected in any way.
To make a good application on the floor, begin applying a line from the edge of the wall and make it between four and five inches wide. Follow the direction of the floor grain to get the paint into the room and have it follow a pattern. Work with the applicator and brushes, applying smooth strokes. These will help you avoid creating burbles, which is common with sealing floors – especially with solvent based sealers.
Once you reach the edge of a wall, turn the t-bar towards the part of the floor not yet sealed. To create a consistent look for an even finish, slightly lift the applicator and repeat this process on the floor to ensure adequate sealing. Use a cut-in pad to add the finishing touches to the floor, then wait for it to dry so that you can repeat the process and give it a good coating. However, our professionals can do this very quickly and make it look easy, so your floor can enjoy all the benefits of sealing.
Types of Floor Sealers
Acrylic single part lacquer
These are quite protective of your wood flooring and the finish can last for years. Brushes can be cleaned off with just water and don’t generate as many fumes as the solvent based sealers, which can pose certain problems. In terms of solution, they are referred to as water based sealers. Also, they are safer to apply, especially when the expert in question is working indoors. They are also cheaper and can easily be sprayed straight from a can. They do not darken the surface (as solvent based sealers do) and hardly produce burbles, thereby making it relatively very easy to apply.
Solvent based sealers
This type of floor sealer give off a glossy and tough surface look, which make scratching and denting difficult. However, it often induces provocative fumes, which is why when used, you are advised to stay away from the room until it dries. Furthermore, solvent based sealers are to be applied in a well ventilated room. These have a wet-look finish, but are usually more difficult to clean. At any rate, they don’t usually freeze easily like water based sealers. Freezing makes sealers useless, which means solvent based sealers are more likely to be used for a long period after their initial use.
Handling toxic fumes
The VOC contained in these sealers are usually quite toxic. Solvent based acrylic products can produce choking fumes, so you’ll need to ensure rooms are well ventilated whilst you’re working. Also, you’ll have to wear protective clothing whenever you’re working with. After the job is complete, give it some time so that the intensity of the fumes will reduce, before using the rooms as usual.
Tools for sealing floors
- Rollers
- T-bars
- Brushes
- Pads
- Synthetic applicator
Btown Will Bring Your Wood Floor Vision To Life!

Benefits of floor sealing
Both your engineered and timber floorings will greatly benefit from a quality floor sealing. The first desire of a homeowner is to have floors always looking their best. Therefore, any measure that will ensure its resistance against all natural and time factors should be put in place. Sealing your floors allows you to save time and money involved in repairing water related floor damage. Even when the repairs are complete or the floor is totally reinstalled, it does not give the floor its original appeal. However, sealing your hardwood floor protects it against all spills and leaks that could occur.
Engineered floors are en vogue, because of their charming appearance, but the appeal doesn’t last forever, which is the reason most people don’t choose them. However, quality sealing undertaken by a professional will not only provide a water-resistant layer to your floor, but also give it a sparkling appearance, which will sustain its beauty for a long time.
Another advantage of sealing your floor is that it also increases the quality of your property, as no one would want to buy a home with damaged floors. Also, you won’t need to replace the seals too often. Once completed, you would not need to consider sealing for another three to four years, depending on the quality of the work.
Reviews


